Bluebeam Takeoff Tutorial PDF: Step-by-Step Guide for Contractors
Why Takeoffs Matter More Than You Think
Construction estimating lives or dies by the takeoff. Miss a few lines or miscalculate dimensions, and your entire bid can crumble. Yet, too many contractors still rely on manual methods or outdated software for this critical step. Enter Bluebeam Revu — a tool designed to simplify quantity takeoffs directly from PDFs. But does it deliver?
In this guide, we’ll break down how to use Bluebeam’s takeoff tools effectively and highlight one often-overlooked feature that can make your process faster and more accurate. We’ll also connect this to JobNext’s BOQ upload feature, which complements software like Bluebeam to eliminate errors further down the line.
Step 1: Setting Up Your Blueprint in Bluebeam Revu
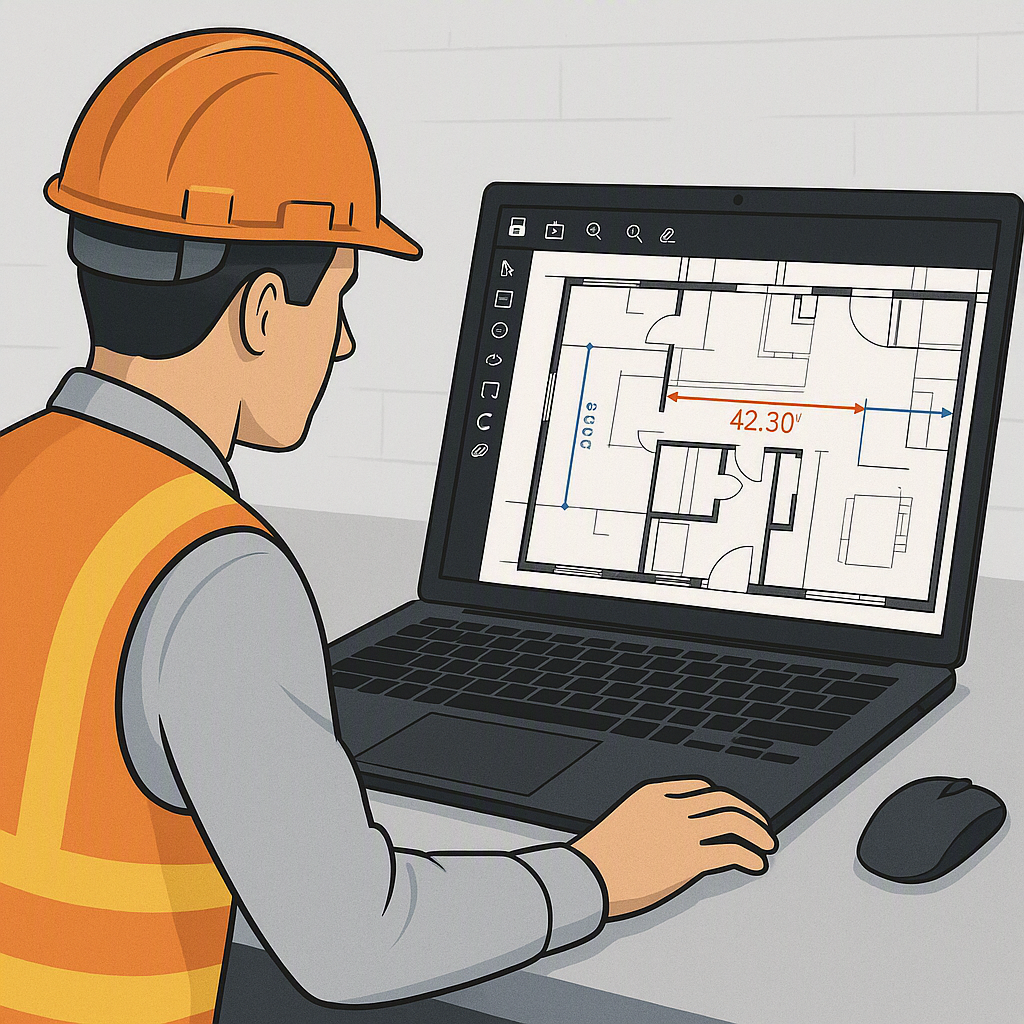
The first step for any successful takeoff is setting up your blueprint correctly. Bluebeam allows you to import PDF plans, but there’s a crucial step contractors often overlook: calibration. Calibration ensures measurements are accurate and proportional to real-world dimensions. Here's a detailed walkthrough:
-
Import Your PDF Plan:
- Open Bluebeam Revu.
- Navigate to File → Open and select your PDF document.
-
Calibrate the Scale:
- Go to Measurements → Calibrate.
- Use a known dimension line on the blueprint (e.g., a labeled wall length) to set the scale.
- If the drawing doesn’t include a labeled dimension, measure a known distance manually at the site and input it manually into Bluebeam.
-
Lock the Scale:
- After calibrating, lock the scale to prevent accidental adjustments. This ensures all subsequent takeoff measurements use the correct scale.
Pro Tips:
- Always double-check your calibration on multiple dimensions to confirm accuracy.
- If the blueprint includes multiple scales (e.g., for details versus the main floor plan), calibrate each page separately and label them appropriately.
Common Mistake: Forgetting to lock the scale after calibrating. Any accidental adjustments will throw off all measurements, which can be catastrophic during bidding or execution.
Step 2: Using Measurement Tools for Takeoff
Bluebeam Revu offers a range of powerful measurement tools, and understanding how to use each one effectively can save you hours of work. Let’s break down the tools and their applications:
-
Length Tool:
- Best for linear measurements like pipes, cables, or baseboards.
- Navigate to Measure → Length, then click the start and endpoint of the line.
- Use snap-to-grid functionality for precise measurements on clean drawings.
-
Area Tool:
- Ideal for calculating flooring, wall coverings, or roof areas.
- Go to Measure → Area, then trace the perimeter of the space.
- Bluebeam lets you adjust vertices if your initial clicks are slightly off.
-
Volume Tool:
- Useful for concrete pours or other 3D materials.
- After selecting Measure → Volume, input the depth or height to calculate cubic volumes.
-
Count Tool:
- Perfect for counting fixtures like light fittings, outlets, or sprinkler heads.
- Use Measure → Count, then click each instance of the item on your blueprint.
- Bluebeam also supports custom symbols for counts, making it easier to differentiate items visually.
Pro Tip: Assign unique colors or line styles for different measurement types (e.g., red for plumbing, blue for electrical) to make your annotations intuitive and easy to review.
Actionable Advice:
- Use Bluebeam’s overlay feature to compare different versions of a blueprint. This helps identify changes that could affect your takeoffs.
- Combine the count tool with Bluebeam’s Layers functionality to toggle visibility for specific scopes of work.
Step 3: Organizing Your Takeoff Data
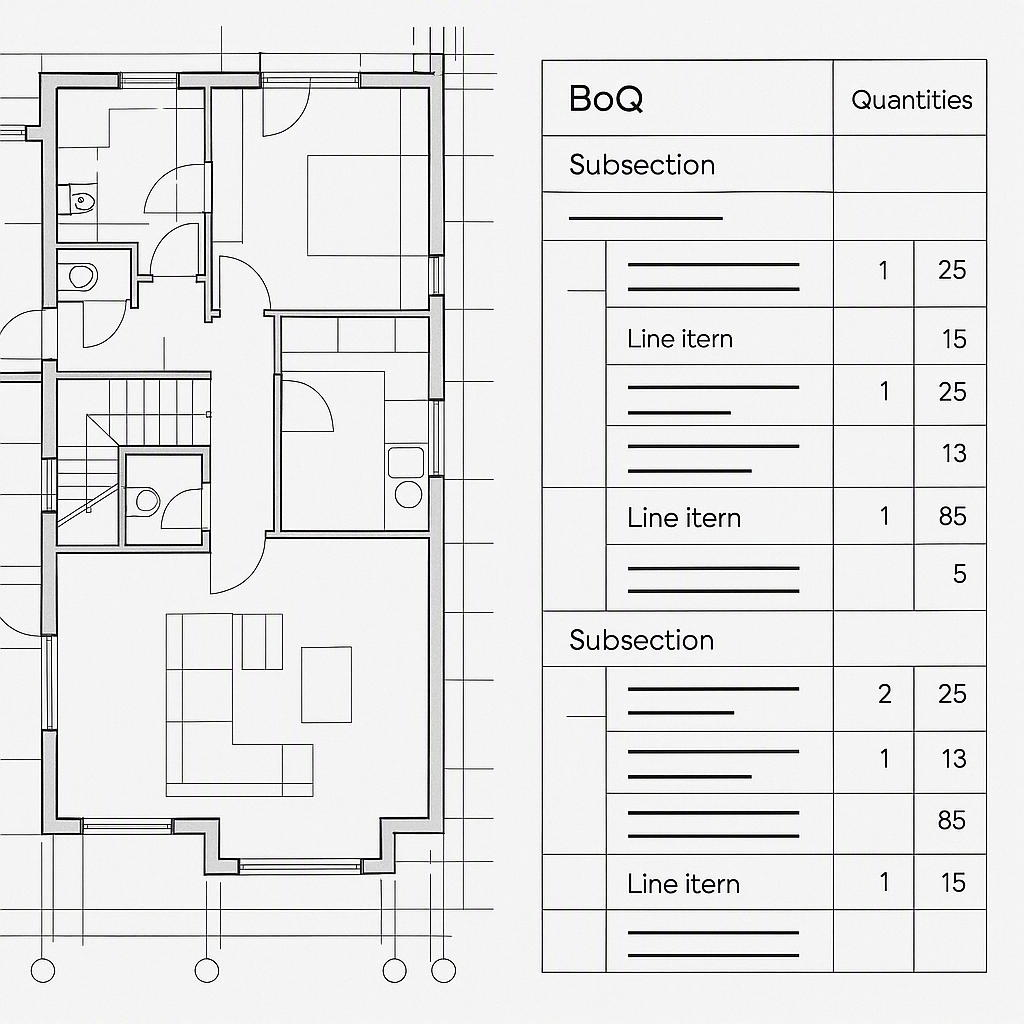
Once you’ve completed your measurements, organizing the data is the next critical step. Bluebeam Revu allows you to export data directly from your annotations, reducing the risk of manual errors.
-
Exporting to Excel:
- Go to File → Summary → CSV Export.
- This generates a spreadsheet containing all your takeoff data, including lengths, areas, counts, and any associated annotations.
- Save the file with a clear naming convention (e.g., "ProjectName_Takeoff_YYYYMMDD.csv").
-
Cleaning the Data:
- Open the exported file and review the entries for consistency.
- Check for anomalies like missing values or misaligned units.
-
Integration with Other Tools:
- Import the cleaned CSV into software like JobNext.
- Use JobNext’s mapping feature to link takeoff measurements directly to your BOQ (Bill of Quantities) items.
Why This Matters: According to McKinsey, human errors in data handling account for 15-20% of construction cost overruns. Automating data transfer minimizes these risks and ensures accuracy.
Advanced Tip: Use Bluebeam’s custom columns feature to add metadata (e.g., cost per unit, supplier information) directly into your annotations. This metadata gets included in your export, saving time during the BOQ preparation stage.
Step 4: Reviewing and Adjusting
The final step in the takeoff process is reviewing your work. Even the most advanced tools can’t catch everything, so human oversight is essential.
-
Cumulative Totals:
- Check that totals across all pages align with your expectations.
- Use Bluebeam’s Markups List to view a summary of all annotations and measurements.
-
Unit Consistency:
- Ensure all measurements use the same unit system (e.g., feet vs. meters).
- Bluebeam allows you to convert units easily if discrepancies arise.
-
Annotations:
- Add notes to clarify irregular shapes, disputed areas, or assumptions made during the takeoff.
- Use Bluebeam’s cloud and text tools to highlight areas requiring client confirmation.
-
Cross-Check with Project Scope:
- Compare your takeoff data against the project scope to ensure nothing is missing.
- Highlight any discrepancies for resolution before finalizing the bid.
Pro Tip: Save your reviewed takeoff as a new version to maintain a clear record of changes. Use Bluebeam’s versioning feature to track revisions.
Integrating Bluebeam with JobNext
For contractors using JobNext, pairing it with Bluebeam can streamline the entire estimating and execution process. Here’s how:
-
Upload Your BOQ:
- After exporting your takeoff data from Bluebeam, upload it into JobNext using the Excel Upload feature.
- Map the exported measurements to your project’s scope and BOQ items.
-
Error Validation:
- JobNext flags validation errors, such as mismatched units or duplicate entries, before finalizing the BOQ.
-
Scope Linking:
- Link BOQ lines to execution scopes and subcontractor packages.
- Use JobNext’s stage-wise linking feature to manage multi-phase projects effectively.
For more on how JobNext enhances construction workflows, check out their blog on AI-powered BOQ creation.
Common Mistakes Contractors Make
- Skipping Calibration: Every measurement will be wrong if calibration is inaccurate.
- Ignoring Validation Errors: If your takeoff data isn’t clean, your BOQ will contain inaccuracies.
- Relying Solely on Software: Tools like Bluebeam are powerful but require human oversight during reviews.
- Overcomplicating Takeoffs: Stick to the basics and avoid unnecessary annotation clutter.
FAQs
Q: Can Bluebeam handle complex multi-scope projects? A: Yes, but it works best when paired with systems like JobNext for scope linking and execution tracking. Bluebeam excels at takeoffs, while JobNext ensures data is structured and actionable downstream.
Q: What if I don’t have accurate scaling on my PDF? A: Use Bluebeam’s manual calibration feature. If possible, verify the calibration against real-world site measurements to avoid errors.
Q: Does Bluebeam integrate directly with JobNext? A: Not directly. However, exporting takeoff data to Excel and uploading it into JobNext is a seamless workaround.
Q: How do I handle revisions to a blueprint? A: Use Bluebeam’s overlay and comparison tools to identify changes between versions. Update your takeoff annotations accordingly.
Q: What’s the best way to organize takeoff data for large projects? A: Use Bluebeam’s Layers and custom column features to segment data by scope, trade, or material type. Export each layer separately if needed.
Decision Framework: Bluebeam vs. Manual Methods
| Feature | Bluebeam Revu | Manual Takeoffs |
|---|---|---|
| Accuracy | High (with proper calibration) | Moderate (prone to errors) |
| Speed | Fast | Slow |
| Data Export | Yes (CSV, Excel) | No |
| Collaboration | Yes (cloud-based options) | No |
| Cost | Moderate upfront cost | Low initial cost |
| Scalability | High | Low |
Final Thoughts
Bluebeam Revu is a solid choice for quantity takeoffs, especially for contractors who want to reduce manual errors. But it’s not a silver bullet. Pairing it with structured systems like JobNext can take your processes to the next level by automating BOQ uploads, scope linking, and subcontractor workflows.
If you’re dealing with margin erosion due to poor cost tracking, tools like JobNext can help. Get started free →
Learn more at EstimateNext