Bluebeam Takeoff: The Workflow Contractors Need
Manual takeoffs are a pain. They’re slow, prone to errors, and let’s be honest—nobody has time to double-check every number. But Bluebeam Revu has made digital takeoffs easier, provided you know the right workflow. This isn’t about flashy tools or theoretical best practices. It’s about what actually works.
Let’s dive into a proven workflow for quantity takeoffs in Bluebeam, step-by-step.
Step 1: Set Up Your PDF Correctly
Before you start measuring, make sure your PDF is optimized. Here’s what I mean:
- Scale Calibration: Open your drawing in Bluebeam. Click on the measuring tool, then “Calibrate.” Use a known dimension (like a 1-meter gridline) to set the correct scale. If this step is off, every measurement will be wrong.
- Layers and Markups: Turn on layers to separate architectural, structural, and MEP elements. This keeps your takeoff organized.
- Snap-to-Content: Enable “Snap to Content” in the settings. This ensures your measurements align perfectly with the drawing lines.
Skipping this prep leads to errors. A properly calibrated and organized PDF is the foundation of accurate takeoffs.
Step 2: Use the Right Tools for Each Measurement
Bluebeam offers a range of measurement tools, but not all are intuitive. Here’s a quick breakdown:
| Tool | Best For |
|---|---|
| Length Tool | Walls, pipes, linear features |
| Area Tool | Flooring, slabs, paint |
| Volume Tool | Concrete, backfill |
| Count Tool | Fixtures, rebar, equipment |
For example, if you’re quantifying rebar, the Count Tool lets you mark each bar and automatically updates totals. No more tallying by hand.
Step 3: Organize Measurements by Scope
This is where most takeoffs fall apart. If you’re not labeling and categorizing measurements, you’ll waste hours later.
- Create Layers: Assign separate layers for walls, flooring, and MEP. This allows you to toggle visibility.
- Use Color Codes: Assign colors to different trades or materials. For example, blue for concrete, red for steel.
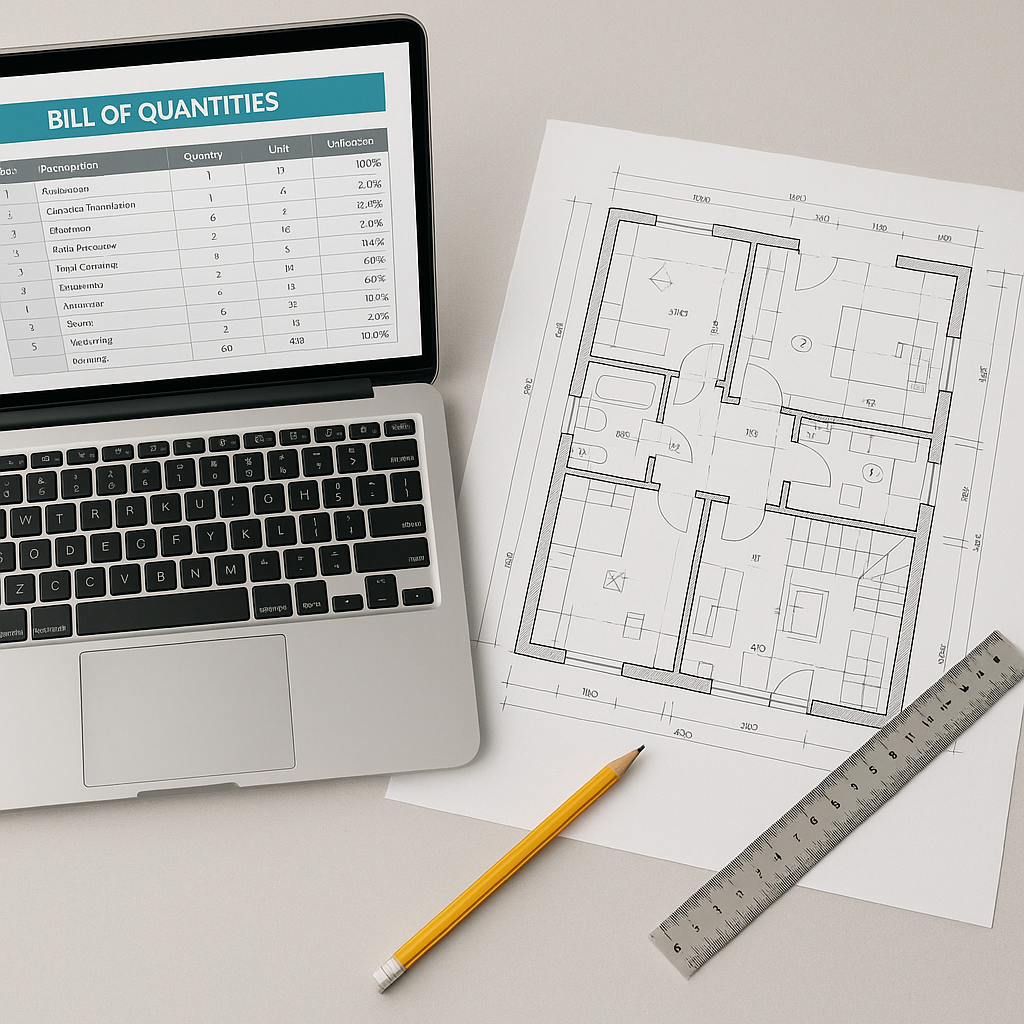
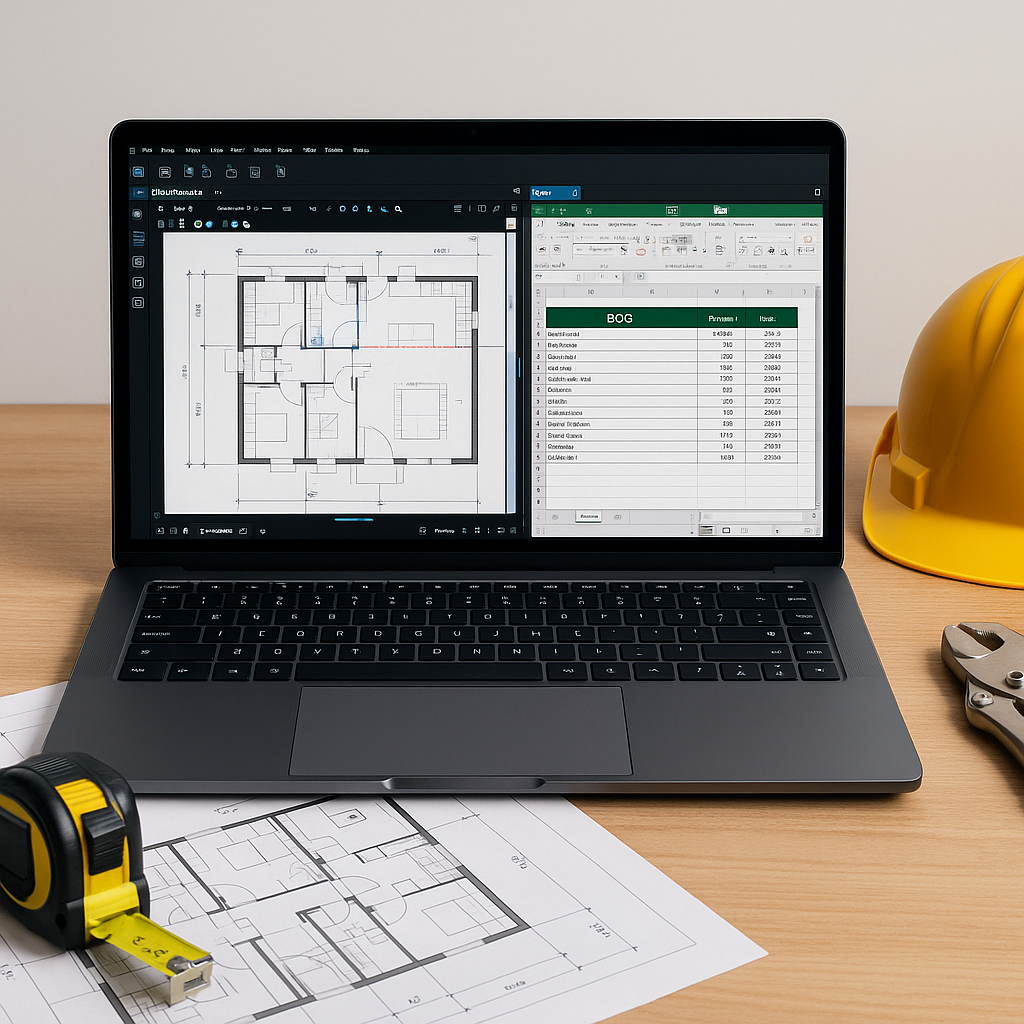
- Group by BOQ Items: Match your measurements to your Bill of Quantities (BOQ) structure. This ensures nothing is missed.
Illustrative example — Bluebeam allows you to export measurement data to Excel. Use this to cross-check against your BOQ. This step can help ensure your takeoff aligns with project requirements.
Step 4: Review and Validate
No matter how good the tool, human oversight is still critical. Run through these checks:
- Scale Validation: Double-check the calibration.
- Cumulative Totals: Ensure measurements match the expected scope. For example, if your wall area exceeds the drawing’s total footprint, something’s wrong.
- Evidence Attachments: Attach photos, notes, or sketches to clarify unusual measurements. This reduces disputes later.
Remember, tools like Bluebeam are only as good as the process behind them. The goal isn’t just speed—it’s accuracy.
FAQ
1. Can I automate takeoffs entirely?
Not yet. While AI-powered tools are improving, you still need human judgment for complex scopes.
2. What’s the biggest mistake in Bluebeam takeoffs?
Miscalibrating the scale. Always double-check.
3. How do I ensure my BOQ matches the takeoff?
Export Bluebeam data to Excel and cross-reference with your BOQ.
Common Mistakes to Avoid
- Ignoring Scale Issues: Always calibrate and validate.
- Skipping Layers: Layers keep your takeoff organized.
- Not Reviewing Totals: Spot-check major quantities before finalizing.
- Overlooking Attachments: Photos and notes reduce disputes.
Conclusion
Bluebeam is powerful, but only if you use it right. This workflow ensures accurate, organized takeoffs that save time and prevent costly errors. By following these steps, you can streamline your process and improve accuracy in your project estimates.
Learn more at EstimateNext